Use with Netlify Identity
useAuth works with netlify-identity-widget, which is designed as a zero-config login widget. You'll need 3 lines of configuration with useAuth.
Example app 👉 example/useauth-gatsby-netlify-identity
1. Set up Netlify Identity
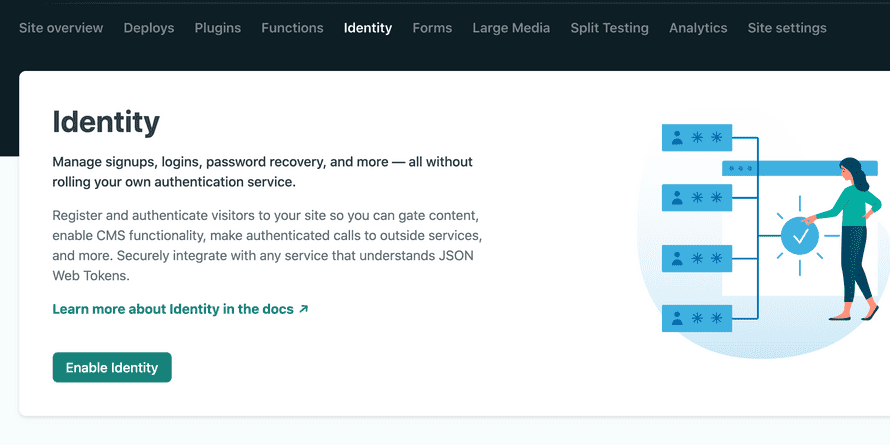
You'll need to enable Netlify Identity for your site. Go to netlify.com, login, find your site, and enable identity.
2. Install dependencies
Install both useAuth and netlify-identity-widget. We put providers in peer dependencies to reduce package sizes :)
yarn add react-use-auth netlify-identity-widget
or
npm install react-use-auth netlify-identity-widget
3. Configure useAuth
Netlify Identity is meant to be zero-config, but you need to configure useAuth itself. It needs to know you're using Netlify Identity and how to navigate on your site.
With Gatsby
// gatsby-browser.jsimport { AuthConfig } from "react-use-auth";import { NetlifyIdentity } from "react-use-auth/netlify-identity";import { navigate } from "gatsby";export const wrapPageElement = ({ element }) => (<><AuthConfig authProvider={NetlifyIdentity} navigate={navigate} />{element}</>);
With NextJS
// pages/_app.jsimport { AuthConfig } from "react-use-auth";import { NetlifyIdentity } from "react-use-auth/netlify-identity";import { useRouter } from "next/router";function MyApp({ Component, pageProps }) {const router = useRouter();return (<><AuthConfigauthProvider={NetlifyIdentity}navigate={(url) => router.push(url)}/><Component {...pageProps} /></>);}
4. Enjoy 😊
You're ready to use useAuth anywhere on your site. Check the API Reference for more detail.
const Login = () => {const { isAuthenticated, login, logout } = useAuth();if (isAuthenticated()) {return <button onClick={logout}>Logout</Button>;} else {return <button onClick={login}>Login</Button>;}};
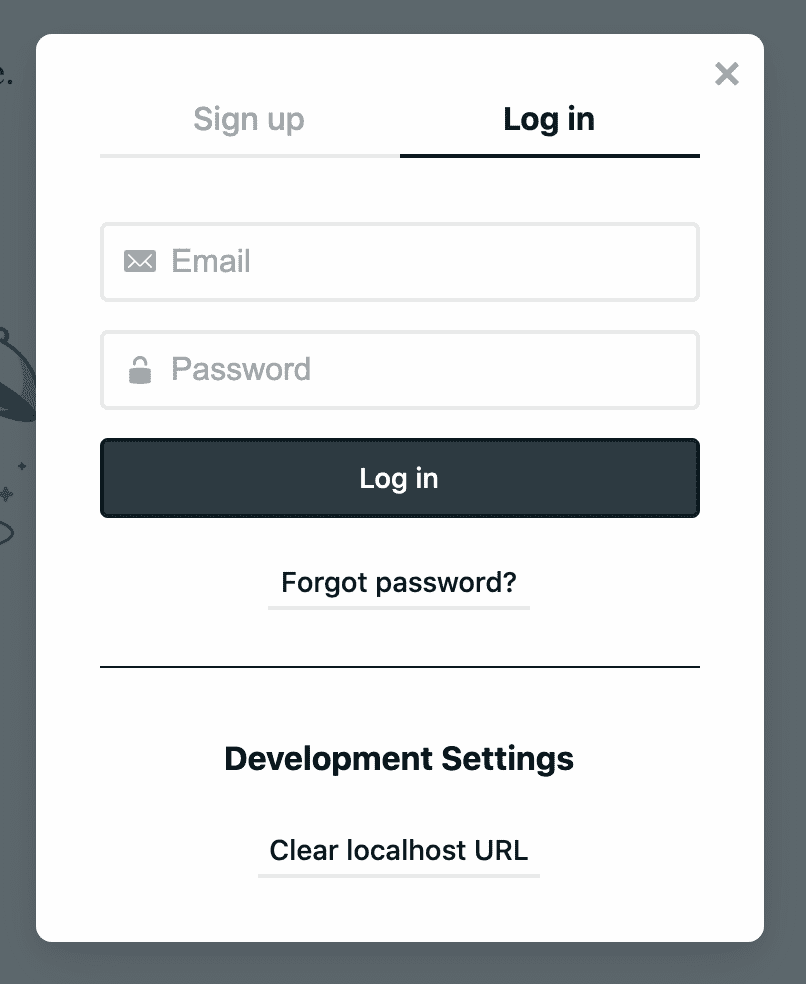
Users get a widget like this:

